


Hey there! I'm a supplier of Handcraft Plastic Molds, and today I'm stoked to share with you how to make handcraft plastic molds for making vase inserts. It's a pretty cool process that can open up a world of creative possibilities. So, let's dive right in!
Getting Started: Understanding the Basics
Before we jump into the nitty - gritty of making the molds, it's important to know what we're dealing with. Handcraft plastic molds are super versatile. They allow you to create unique vase inserts that can add a personal touch to any floral arrangement.
We're gonna need a few things to get started. First off, you'll need a model of the vase insert you want to make. This can be something you've designed yourself or a simple shape you found online. Next, you'll need a mold - making material. One popular choice is liquid silicone, which you can learn more about in the Liquid Silicone Injection Mold. It's flexible, durable, and can capture even the tiniest details of your model.
Step 1: Preparing the Model
The first step is to prepare your model. If you've designed a 3D model, you can 3D - print it. Make sure it's clean and free of any rough edges or debris. You can sand it down a bit to make it smooth. If you're using a physical object as a model, give it a good wash and dry it thoroughly.
Once your model is ready, you'll want to think about how you're going to split the mold. This is crucial because you need to be able to remove the finished vase insert from the mold later. Usually, for a simple vase insert, a two - part mold works great. You can mark the split line on your model using a marker.
Step 2: Making the Mold Box
Now, we need to create a mold box to hold the mold - making material. You can use a piece of wood or plastic to build a box that's slightly larger than your model. Make sure the box is sturdy and has no gaps where the liquid silicone could leak out.
Place your model in the center of the mold box. You can use some clay or putty to hold it in place if it keeps moving around. This will ensure that the mold is evenly formed around the model.
Step 3: Mixing the Liquid Silicone
Time to mix the liquid silicone. Follow the instructions on the product carefully. Usually, you'll need to mix two components together in a specific ratio. Use a clean mixing container and a stir stick. Stir the mixture thoroughly for a few minutes to make sure it's well - blended.
It's important to work quickly at this stage because the silicone starts to cure after a certain amount of time. Once it starts to thicken, it becomes difficult to pour and shape.
Step 4: Pouring the Silicone
Slowly pour the mixed liquid silicone into the mold box, making sure to cover the model completely. Try to pour it in one smooth motion to avoid creating air bubbles. If you do see some air bubbles, you can use a toothpick or a small tool to pop them.
Let the silicone cure according to the manufacturer's instructions. This usually takes a few hours, but it can vary depending on the type of silicone you're using.
Step 5: Separating the Mold
Once the silicone has fully cured, it's time to separate the mold. Carefully remove the mold box and then gently separate the two parts of the mold. You should now have a perfect negative of your vase insert model.
Check the mold for any imperfections. If you find any, you can use a small amount of additional silicone to patch them up.
Step 6: Using the Mold to Make Vase Inserts
Now that you have your handcraft plastic mold, you can start making vase inserts. You can use a variety of plastic materials, such as resin or acrylic. Pour the melted plastic into the mold, making sure to fill it completely. Let the plastic cool and harden.
Once the plastic has cooled, carefully remove the vase insert from the mold. You may need to use a little bit of force, but be gentle to avoid damaging the mold.
Mold Maintenance and Usage Considerations
Taking care of your handcraft plastic molds is essential to ensure they last a long time. After each use, clean the mold with a mild soap and water. Make sure to dry it thoroughly before storing it.
For more detailed information on mold maintenance and usage considerations, check out Mold Maintenance and Usage Considerations.
Why Choose Our Handcraft Plastic Molds
As a supplier of Handcraft Plastic Molds, we offer high - quality molds that are perfect for making vase inserts. Our molds are made from top - notch materials, so they're durable and can withstand repeated use.

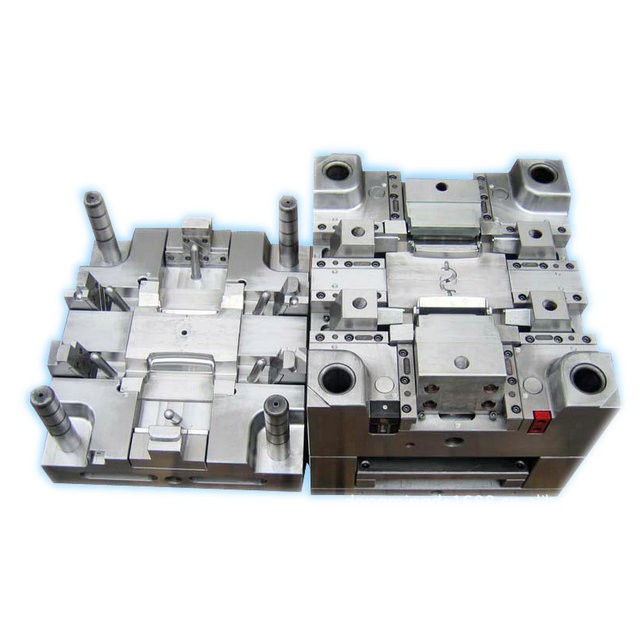
We also provide excellent customer service. If you have any questions or need help with the molding process, our team is always here to assist you. Whether you're a beginner or an experienced crafter, our molds can help you bring your creative ideas to life.
Contact Us for Your Molding Needs
If you're interested in purchasing our handcraft plastic molds or have any questions about the process of making vase inserts, don't hesitate to reach out. We're eager to start a conversation with you and help you find the perfect molds for your projects. Whether you're looking to make a few unique vase inserts for personal use or start a small business, we've got you covered.
References
- General knowledge on plastic molding techniques from years of industry experience.
- Manufacturer's instructions for liquid silicone and plastic materials used in the process.


