


Hey there! As a supplier of handcraft plastic molds, I've been in the game for quite a while, and I know a thing or two about making those molds with sharp edges. In this blog, I'm gonna share some techniques that I've found super useful over the years.
First off, let's talk about the materials. You gotta choose the right ones if you want sharp - edged molds. For the plastic itself, high - quality thermoplastics are often a great choice. They can be easily molded and have good flow properties, which is crucial for getting those sharp details. When it comes to the mold - making materials, silicone rubber is a popular option. It's flexible, can capture fine details, and is relatively easy to work with. You can find more about different types of molds on the Plastic Mold Maker page.
Now, the design phase is where it all starts. Before you even touch the materials, you need a solid plan. Sketch out your design on paper or use a 3D modeling software. This helps you visualize how the final mold will look and allows you to make any necessary adjustments early on. Pay close attention to the areas where you want sharp edges. Make sure the angles are well - defined and the transitions are smooth. If you're using 3D modeling, you can even simulate the molding process to see if there are any potential issues.
Once you have your design ready, it's time to prepare the master model. This is the object that you'll use to create the mold. You can make the master model from various materials like resin, wood, or even 3D - printed plastic. The key is to make it as accurate as possible. Sand it down to a smooth finish and polish the areas where you want sharp edges. Any imperfections on the master model will be transferred to the mold, so take your time with this step.
When it's time to make the mold, the mixing of the mold - making material is crucial. If you're using silicone rubber, for example, follow the manufacturer's instructions carefully. Mix the base and the catalyst thoroughly but gently. Over - mixing can introduce air bubbles, which can ruin the sharp edges of the mold. You can use a vacuum chamber to remove any air bubbles that might have formed during the mixing process. This ensures a smooth and bubble - free mold.
The pouring process also requires some finesse. Pour the mixed mold - making material slowly and steadily over the master model. Try to pour it from one side so that the material flows evenly and covers the master model completely. If you pour too quickly, you might create turbulence, which can distort the sharp edges. It's a good idea to use a release agent on the master model before pouring the mold - making material. This makes it easier to remove the mold from the master model later on.
After the mold has cured, it's time to remove it from the master model. Be very careful during this step. Start by gently peeling the mold away from the master model, starting from the edges. If there are any areas where the mold is sticking, you can use a small tool like a spatula to carefully separate them. Once the mold is removed, inspect it for any defects. If you find any rough spots or areas where the sharp edges are not as defined as you'd like, you can use a fine - grit sandpaper to smooth them out.
Another important aspect is the curing time. Different mold - making materials have different curing times, and it's essential to follow the recommended time. If you try to remove the mold too early, it might not be fully cured, and the sharp edges could get damaged. On the other hand, if you wait too long, the mold might become too hard and difficult to work with.
When it comes to making molds for specific applications like Liquid Silicone Injection Mold, there are some additional considerations. The temperature and pressure during the injection process need to be carefully controlled. High temperatures can cause the plastic to flow more easily, which is good for filling the mold, but it can also affect the sharpness of the edges if not managed properly. You need to find the right balance to ensure that the plastic fills the mold completely while maintaining the sharp edges.

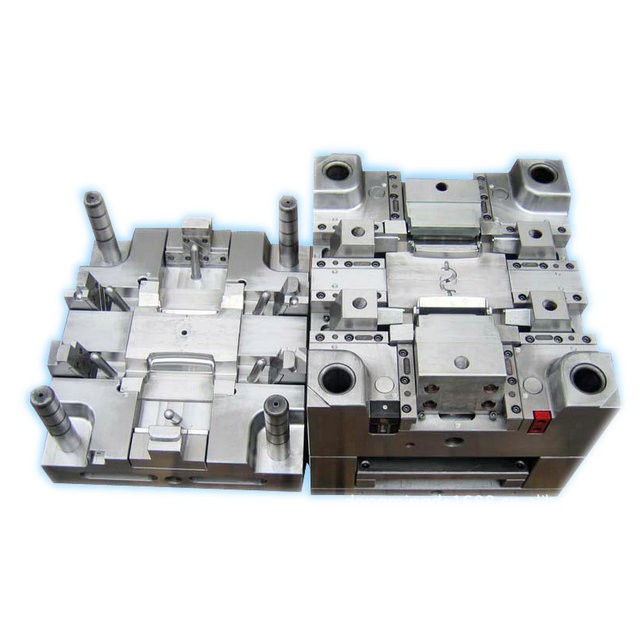
Maintenance of the molds is also key to keeping the sharp edges intact. After each use, clean the mold thoroughly to remove any residual plastic or debris. You can use a mild detergent and a soft brush to clean the mold. Make sure to dry it completely before storing it. Following the guidelines on Mold Maintenance and Usage Considerations can help you extend the lifespan of your molds and keep the sharp edges looking great.
Now, if you're in the market for high - quality handcraft plastic molds with sharp edges, we're here to help. We've got the expertise and the experience to create molds that meet your specific needs. Whether you're a small - scale hobbyist or a large - scale manufacturer, we can provide you with the perfect molds. If you're interested in discussing your requirements or want to place an order, don't hesitate to reach out. We're always happy to have a chat and see how we can assist you in your projects.
References:
- General knowledge and experience in the handcraft plastic mold industry.
- Manufacturer's instructions for mold - making materials.


